Art Marketing
How to showcase your art in a Room Mockup and increase your reach
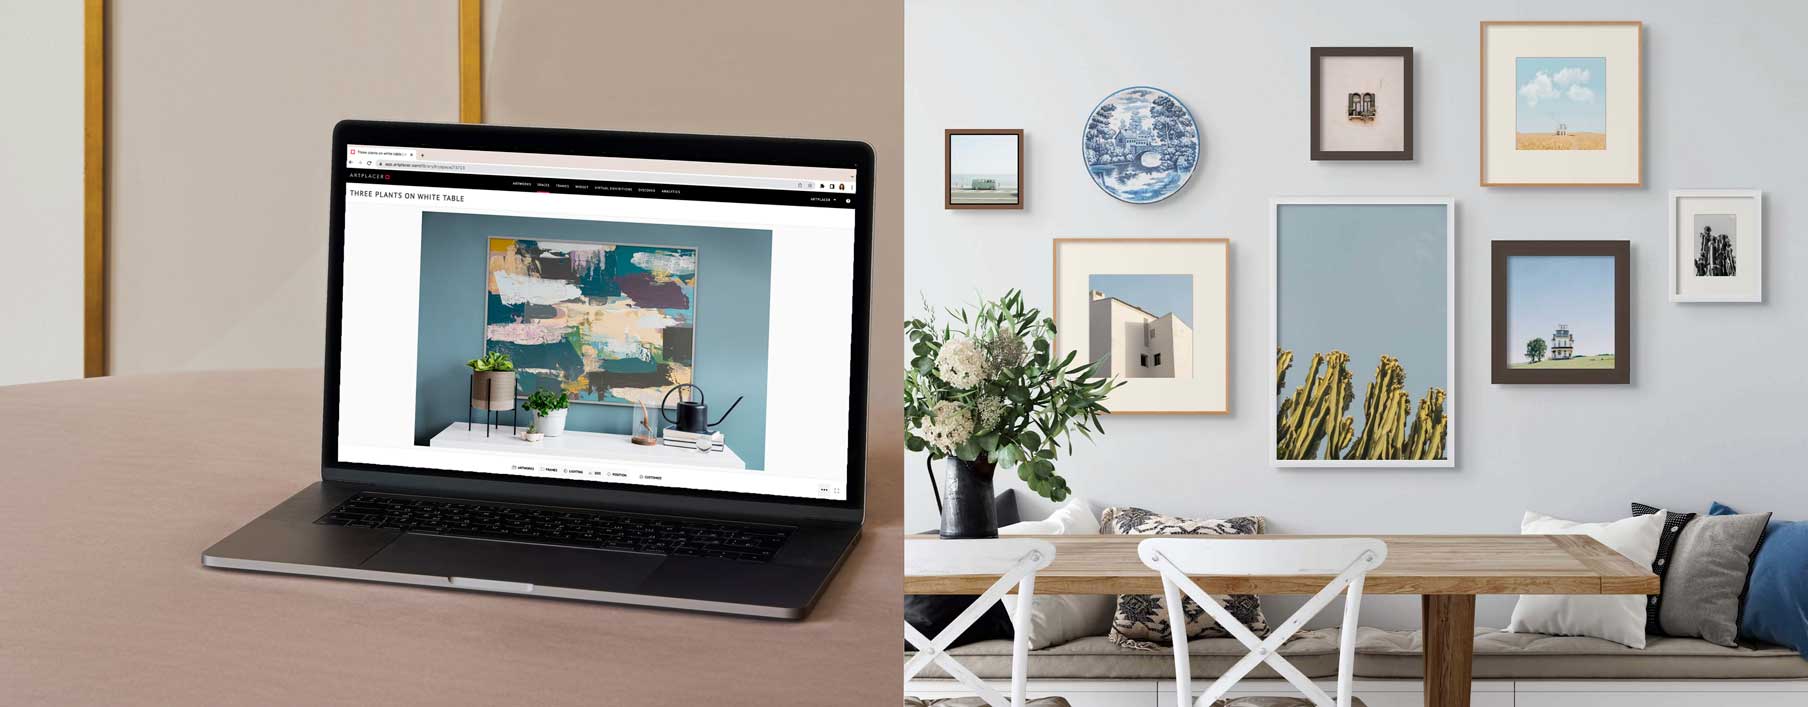
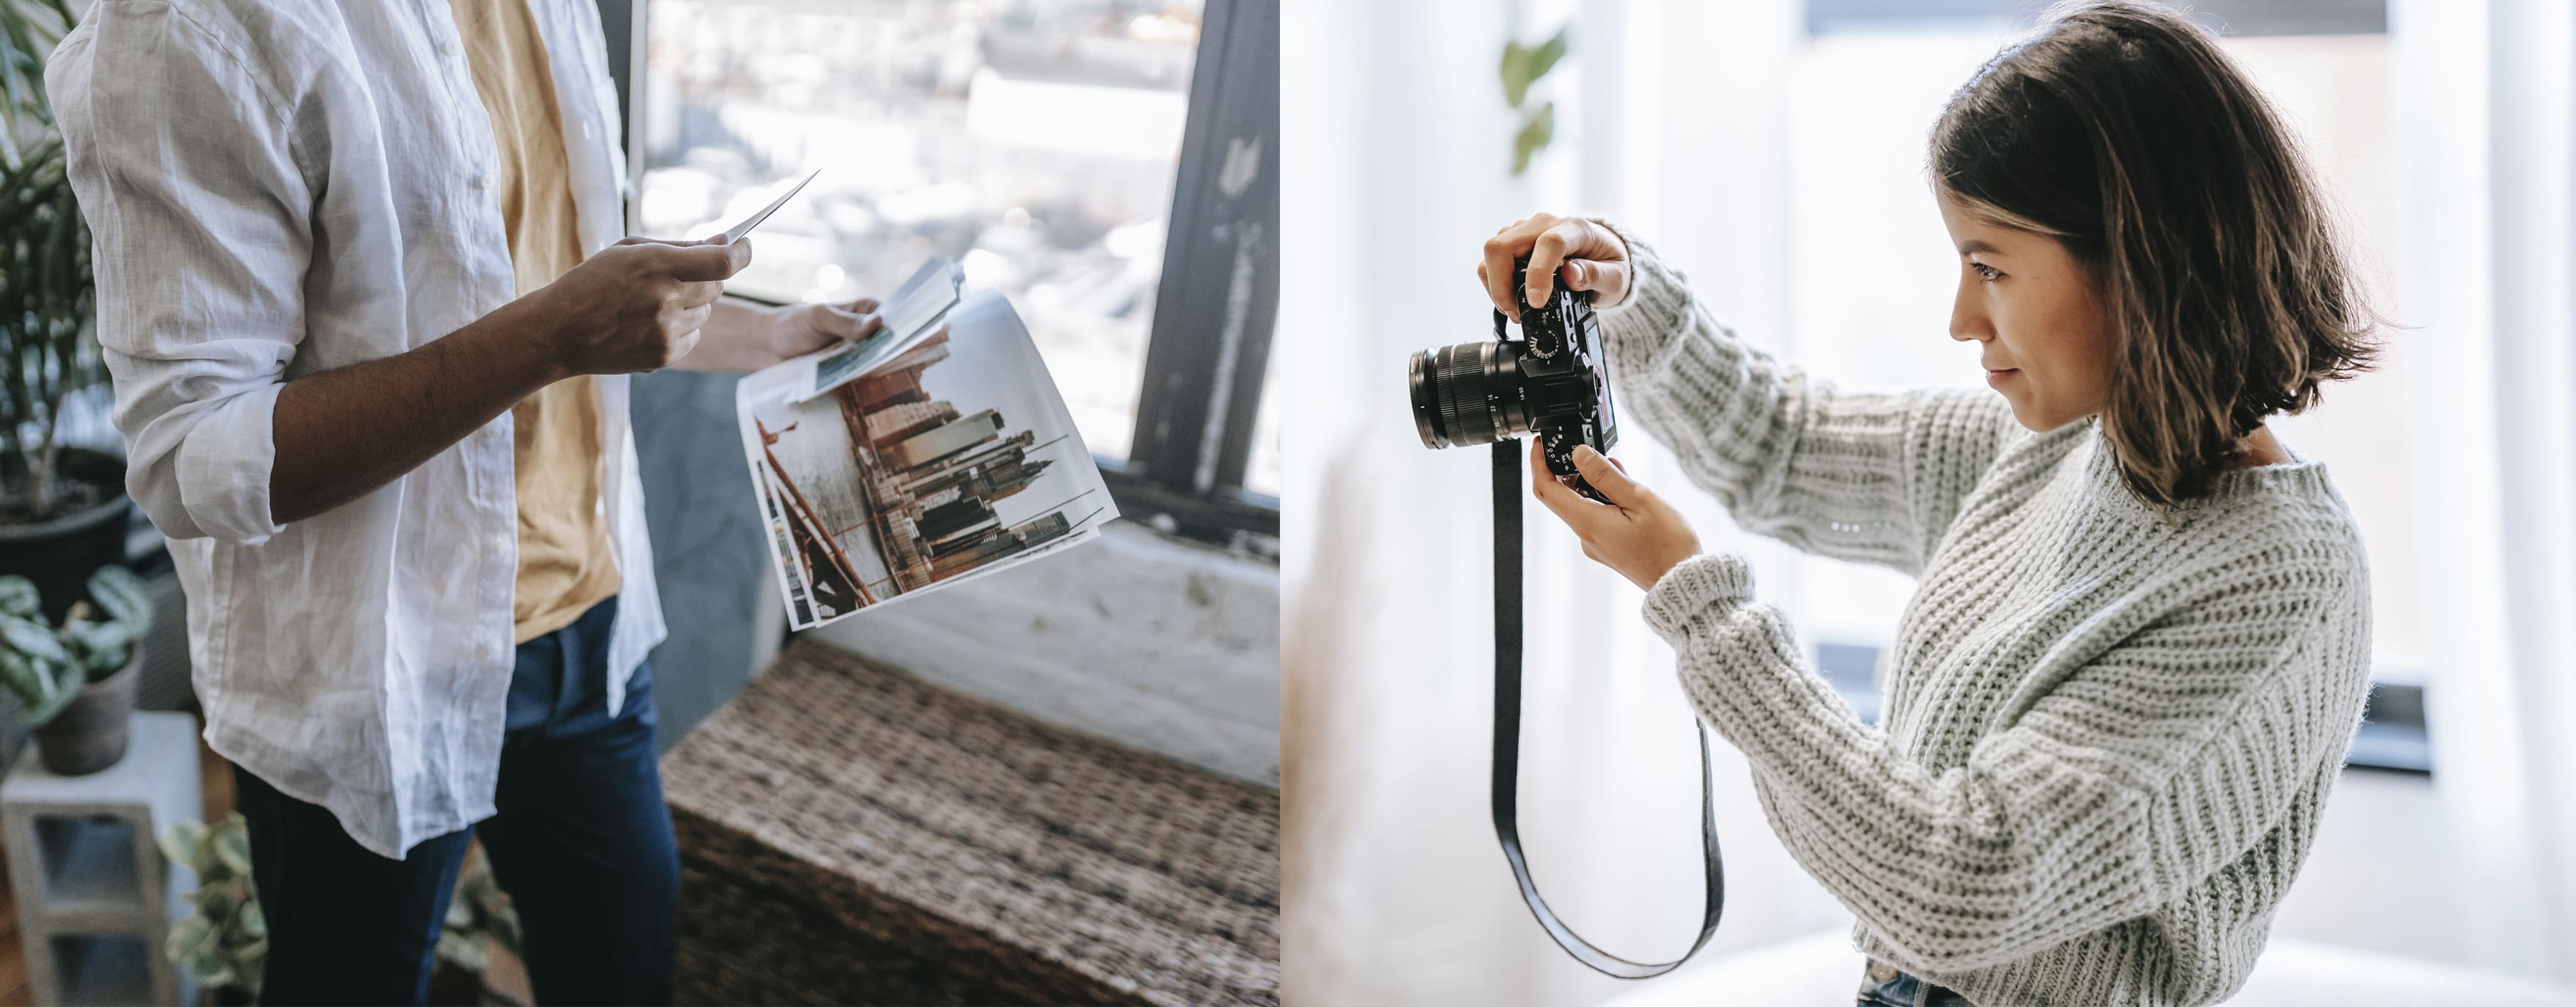
Your latest art piece is ready, and now it’s time to share it online with your audience: collectors, art lovers, colleagues, and like-minded people interested in your artistic vision. Is there a creative way to do it beyond just photographing your artwork? Showcasing your art in digital Room Mockups can help you increase your reach and open up a new path to explore when it comes to marketing your art.
From living rooms to halls, hotels, and galleries, ArtPlacer offers a variety of customizable Room Mockups in different styles. This unique way to present your art lets potential collectors know how your pieces will look in a certain room, with a particular style that best highlights the art and reflects your personal aesthetic. Keep reading to find easy ways to create mockups for your art for social media and other digital channels!
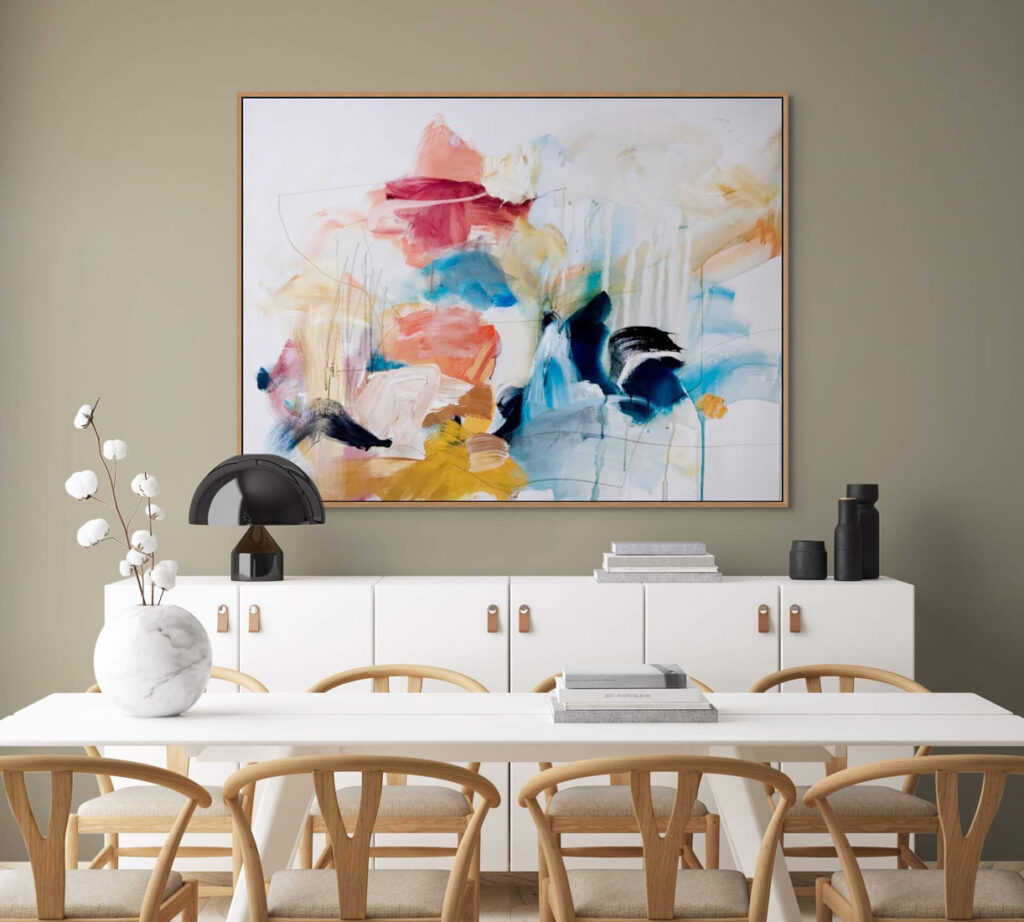
Example of an artwork by Vicky Barranguet showcased in a digital room setup. Use this room.
Contents
Choose the right Room Mockup to showcase your art
ArtPlacer offers many styles and options of rooms that will highlight your art, but you can make a quick and smart choice following these tips when browsing our wide selection of spaces:
-Do you need help determining what kind of space to use? Explore our Curated Collections and discover a wide range of Room Mockups in different styles and aesthetics.
-Use our filters (top right corner) for “Style” and “Space” to narrow down your search and find precisely what you’re looking for. “Luxury” + “living rooms”? We have them. Save your favorites for later use.
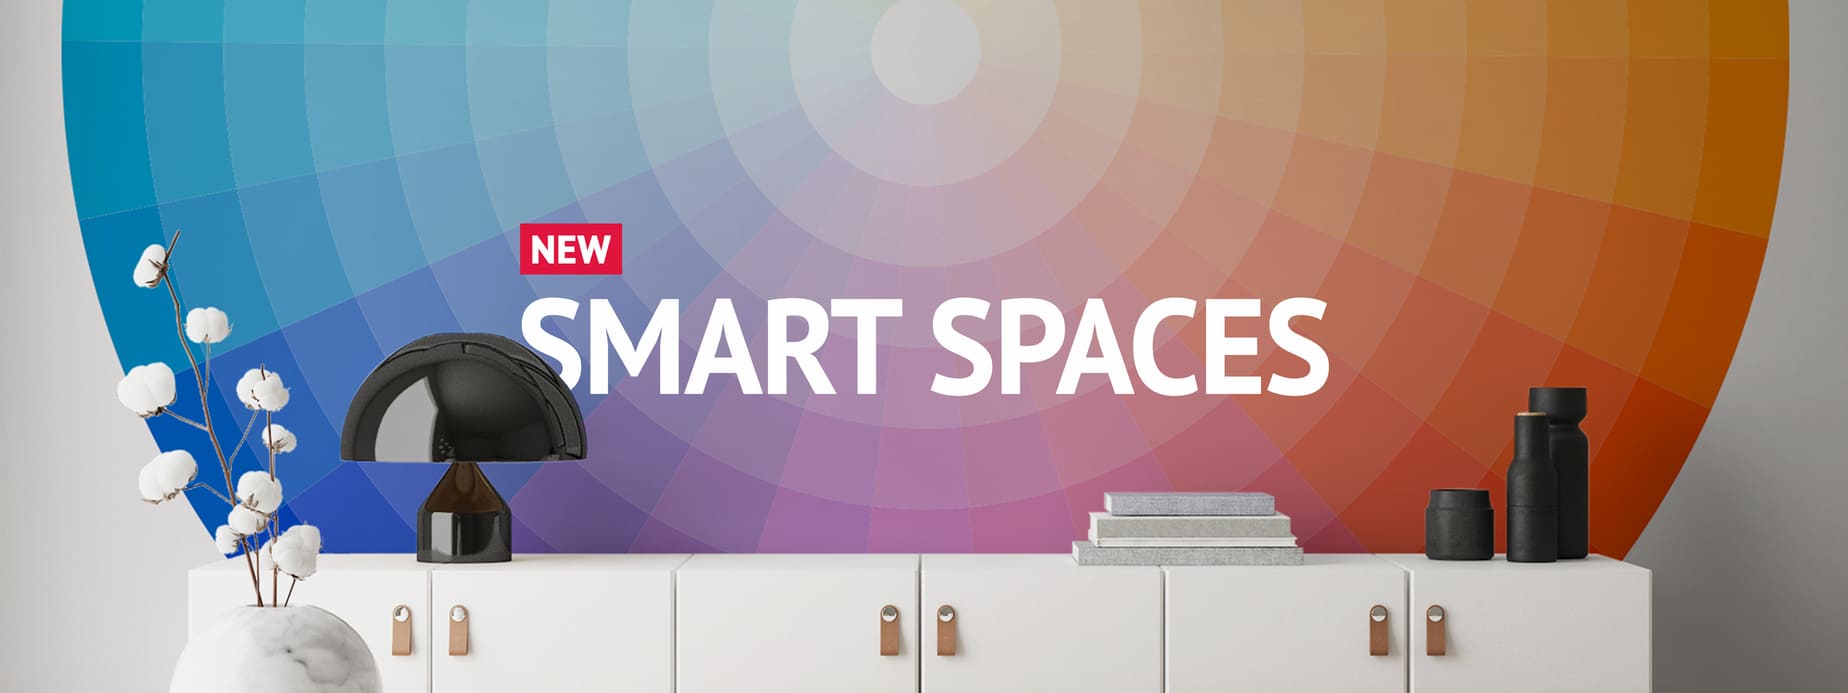
-Want more customization options, such as picking wall colors or layering your art behind objects? Use the Smart Spaces filter.
-Need something specific? Use the search bar and keywords for what you are looking for, like “lamp” or “couch”.
-Already picked a space you are working with and want to find similar ones? Click on “Room” and you’ll find a selection of suggested Room Mockups that match.
-Loved what you achieved with the room you were working with? Save it and find it later under “My Designs.”
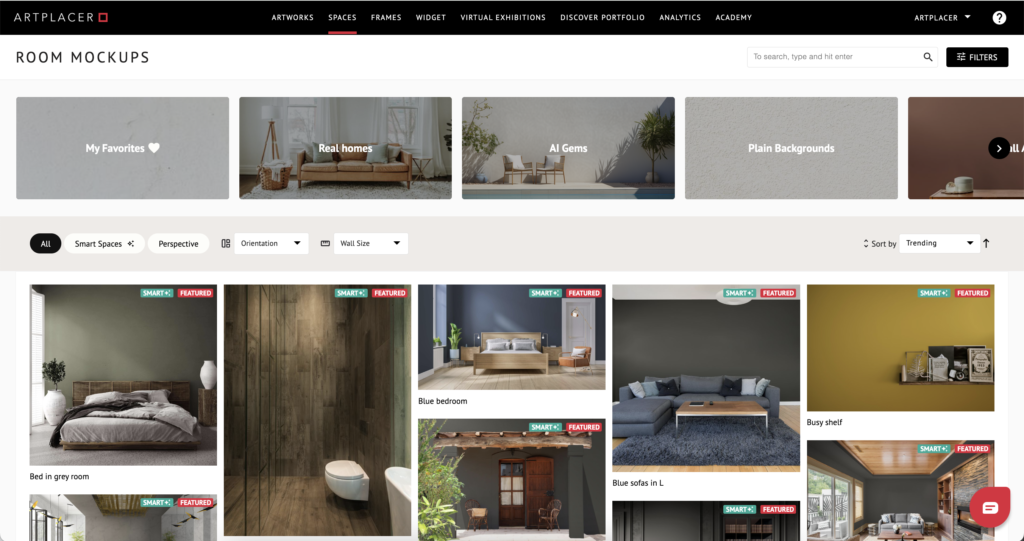
Pro tip: Do you want to showcase small art? Use the Crop tool (left side) to find the perfect spot and capture the right composition to highlight your art.
How to frame your artwork in a Room Mockup
There is a frame for every piece. This detail can both highlight your art and give a sense of how it will look hanging on a wall in real life.
Start by selecting a Room Mockup and adding a piece of art. Then, click on “Frames” at the bottom of the screen and a variety of ready-to-use frames will pop up. There are natural wood and painted frames, with mats ranging from floating to single mount and even mat–less or canvases.
The options don’t end there: these frames are fully customizable. Start with the one you like and tweak it to match your design, or if you are feeling creative, you can build your digital frame from scratch.
Do you want an extra touch of realism? Add the glass reflection option for a more real-life-looking finish and try the new 3D effect on frames in rooms with an angled perspective.
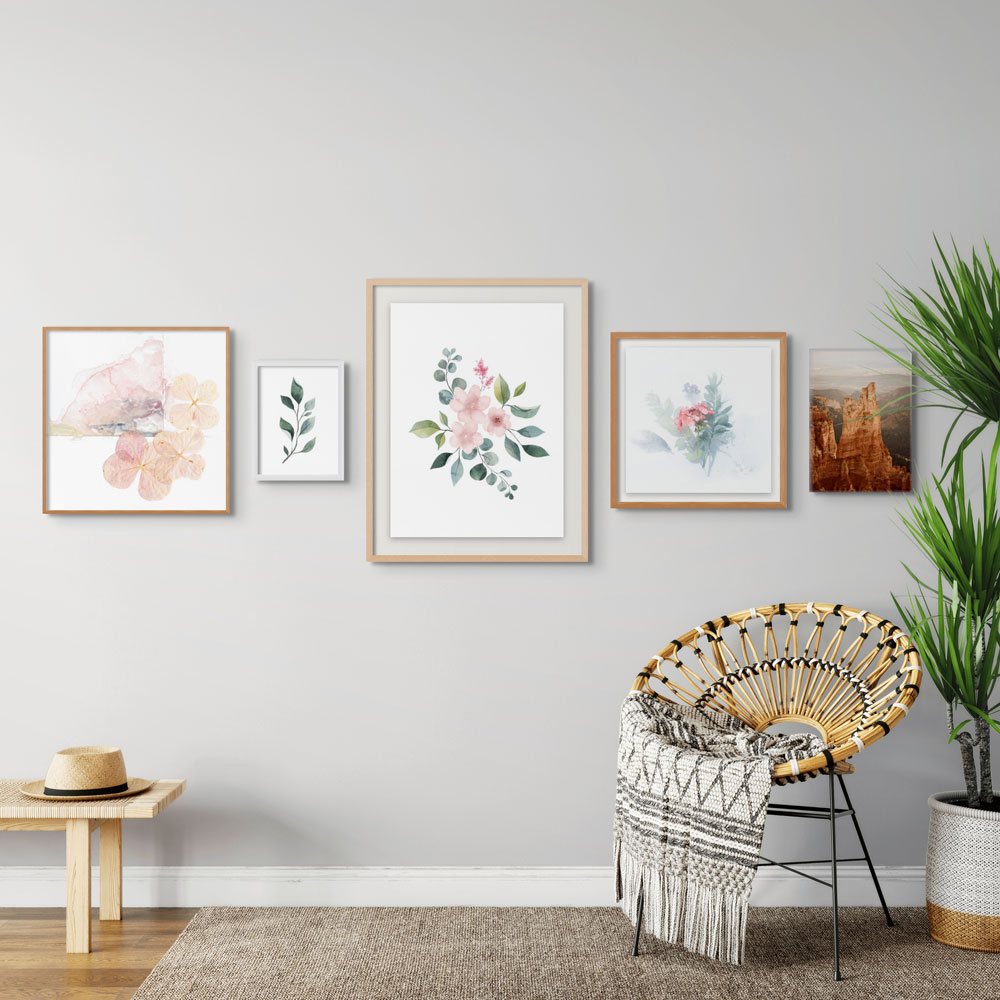
Framing four watercolors and a photograph. Use this room.
Here’s an example: for the watercolors, we created a mix of delicate woods that make the greens and natural tones of the paintings look radiant. To display the photograph, we chose a canvas print. To achieve this same look, just choose these when building your frame:
- A natural cherry thin frame (1.4 cm)
- A white, flat wooden frame of similar dimensions (1.6 cm)
- A natural ash wood frame (1.8 cm) with a cool off-white floating mat (5 cm)
- Another wood frame, this time cherry wood, of the same dimensions as the previous one (1.8 cm), with a smaller and less cool white mat (2.5 cm)
- Canvas
Pro tip: Use your frames wisely to hint at the medium of your artwork.
In this picture, the light source is not visible, but you get a sense of having a big window to the left from the objects in the room and the shadow they cast. Use this room.
How to customize the lighting in your Room Mockup
Once you have selected a room and a frame for your piece, go to the bottom panel, click on Lighting and you’ll see the following options: “no shadow”, “center shadow”, “left shadow”, and “right shadow”.
To choose the right option for your mockup, look for the main light source in the room. Is there a curtain or a window to the left? Then choose “right shadow” for the artwork to cast a darker shade towards the right. If there isn’t a visible light source, look at where the room objects’ shadows are projected and replicate the direction with the shadow toggle.
In the dining room example above, there is no visible light source, but you can tell that the furniture looks brighter on the left and darker on the right. Hence, we can imagine that there’s a window on the left of the room casting the soft white light. Then, the best option would be to select “right shadow”. Use the shadow “spread” and “opacity” handles to find the perfect look.
Take into account that if you didn’t take a professional-looking photograph of your artwork, your piece might appear a bit desaturated or not bright enough. In that case, to match the overall lighting settings of the room, play with the “brightness” and “contrast” values. You can also adjust the “saturation” settings of both the room and the artwork to create a more unified look between them.
Create a subtle balance between pieces by placing them on a grid of four. Use this room.
Select the right placement for your artwork in a Room Mockup
Evaluate the type of piece or pieces you are working with. If you have a big statement artwork, make it the main protagonist and place it in the center of the room. You can easily position the artwork within the space using the smart guides, then tap on the “position” button to align it to the wall.
Another good option is to create a focus point on a particular area of the room according to the available wall space and surrounding items. For example, if you like how the composition looks with specific furniture and objects in the space, or you want to leave out an object that you think doesn’t go well with your creation, use the Crop tool.
Look for the three buttons on the left of the screen; the first one is the Crop tool. You’ll find popular presets like Instagram Stories and Etsy listing images, but you’ll also be able to create any custom crop you desire.
If you have a pair of artworks that are the same size and relate to each other, creating a well-aligned “perfect pair” is the way to go. If you happen to have three pieces of the same size, creating a triptych could be the best option. To distribute the pieces evenly on the wall, tap on the “space evenly” icons.

Follow these templates to place your art in a Room Mockup in a creative way.
If you have a decent amount of pieces and love gallery walls, consider these placements:
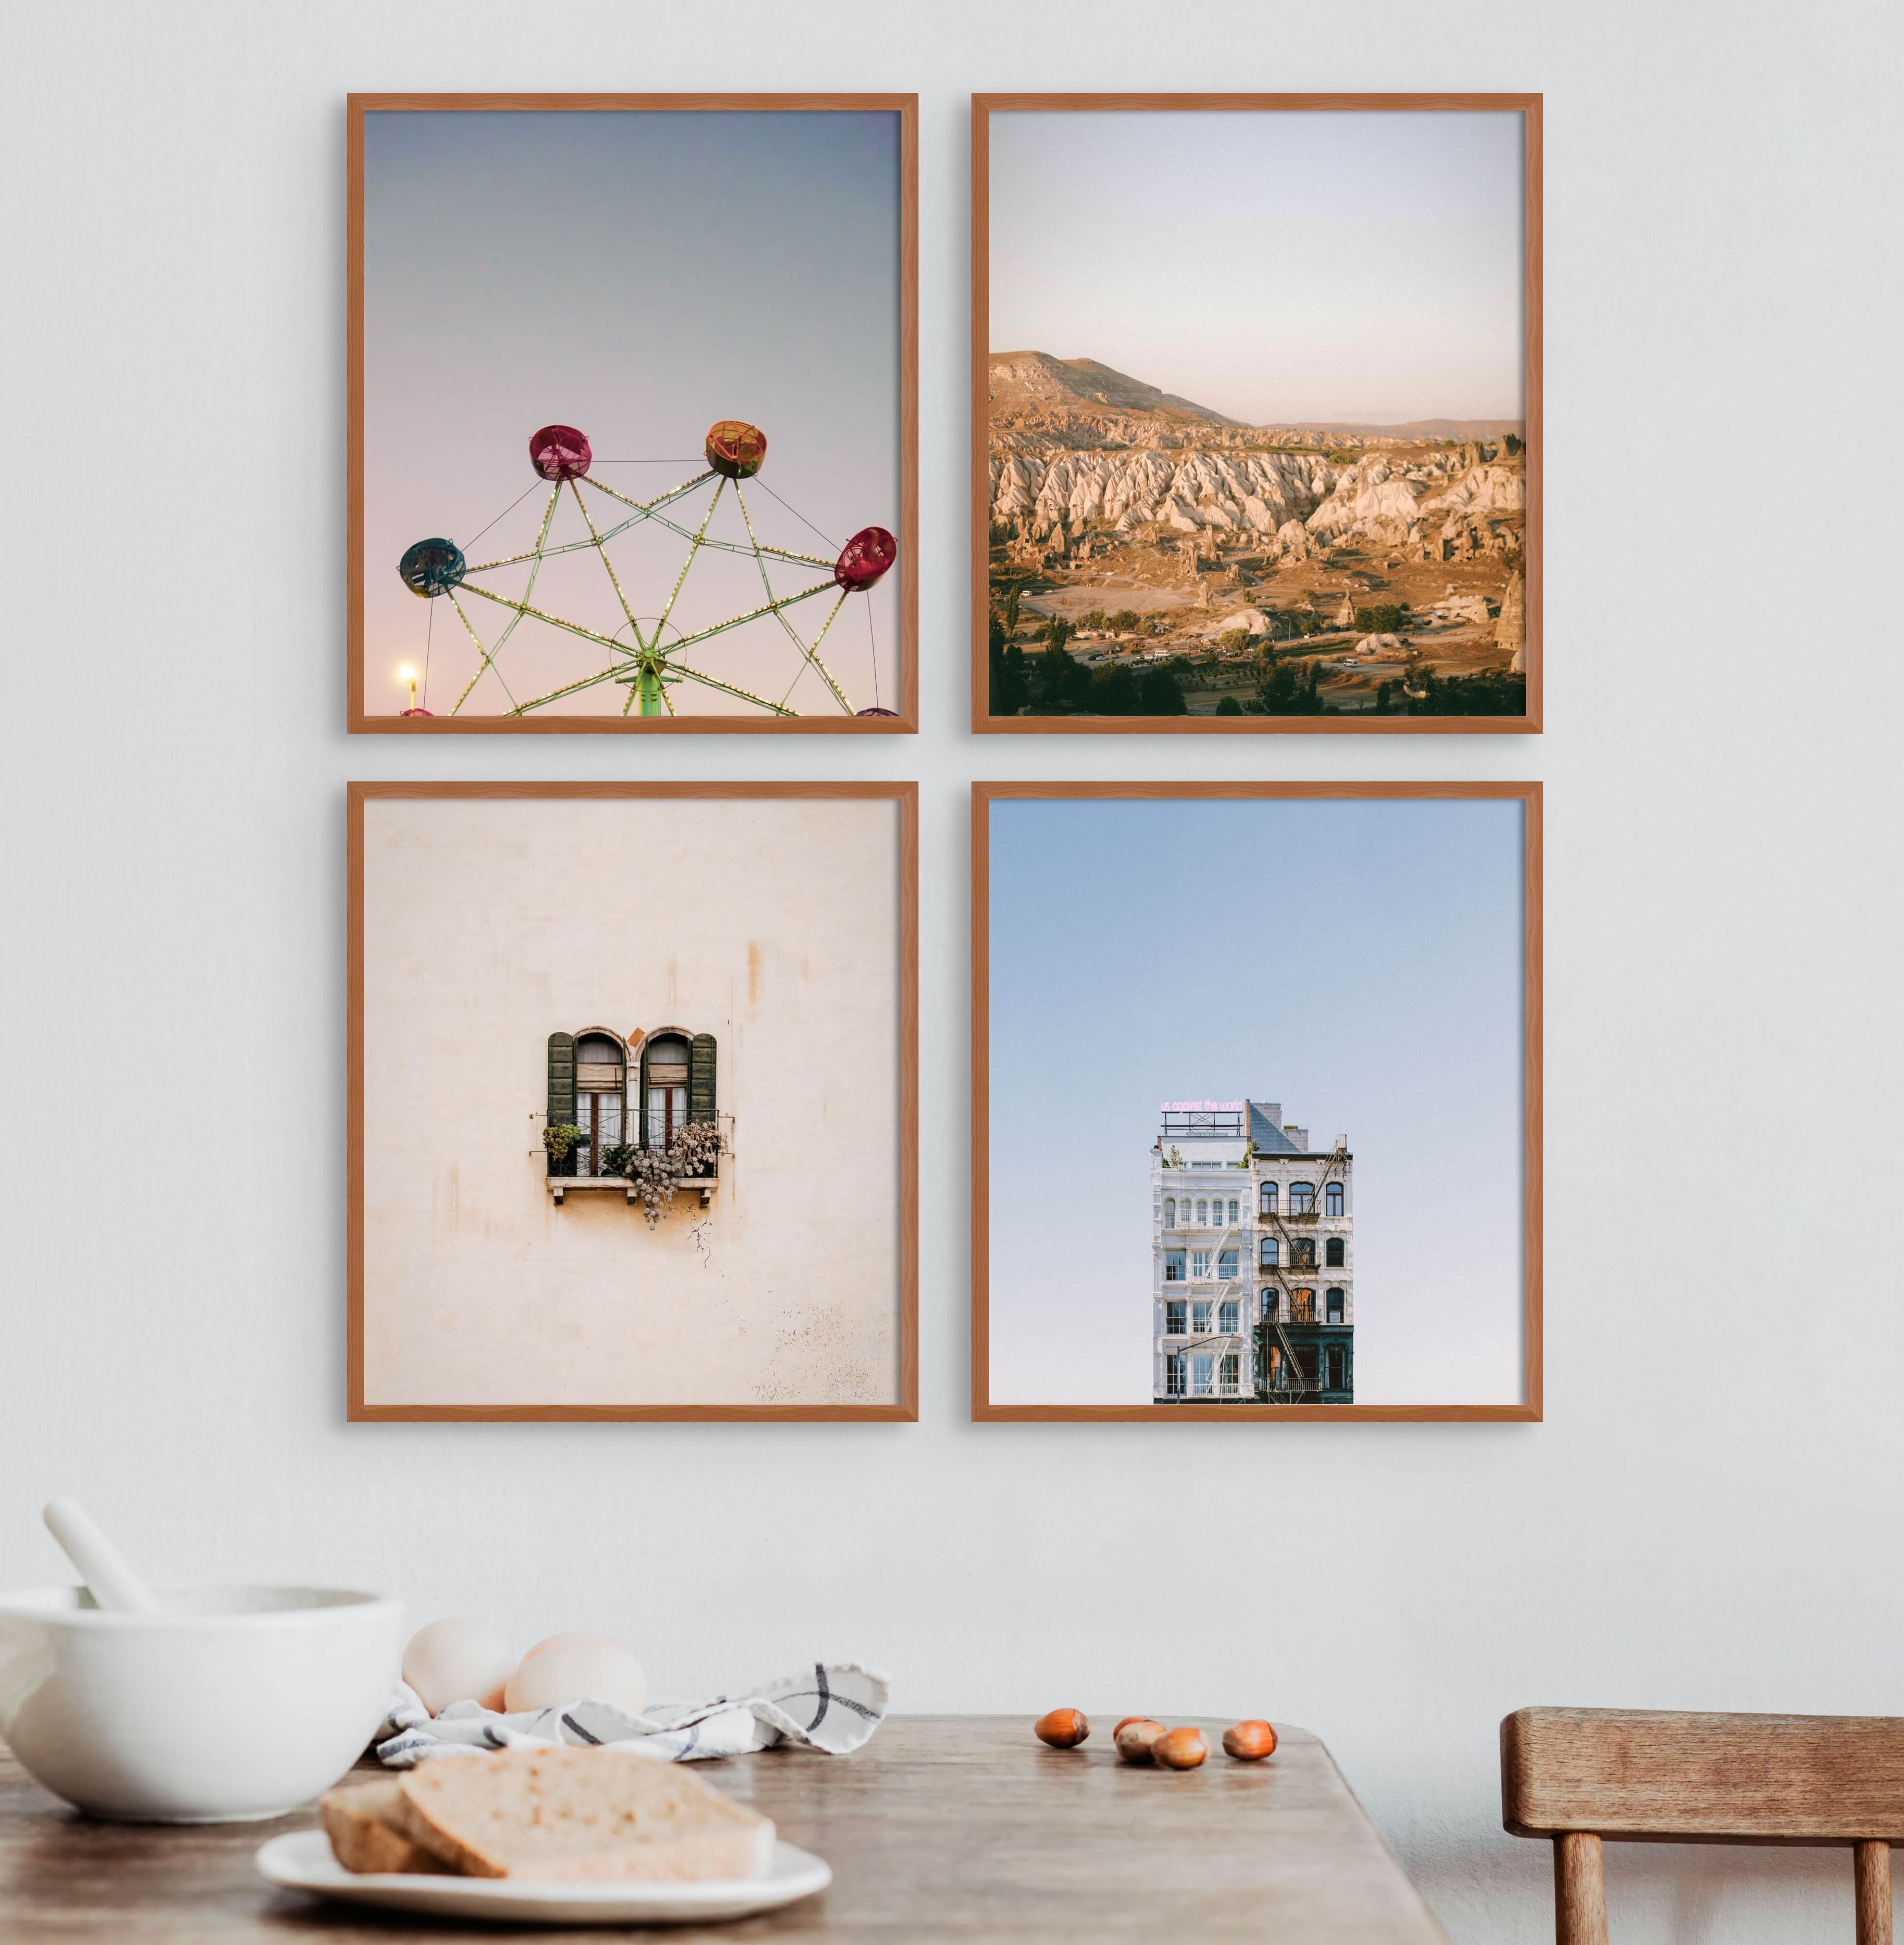
- A simple grid of four artworks
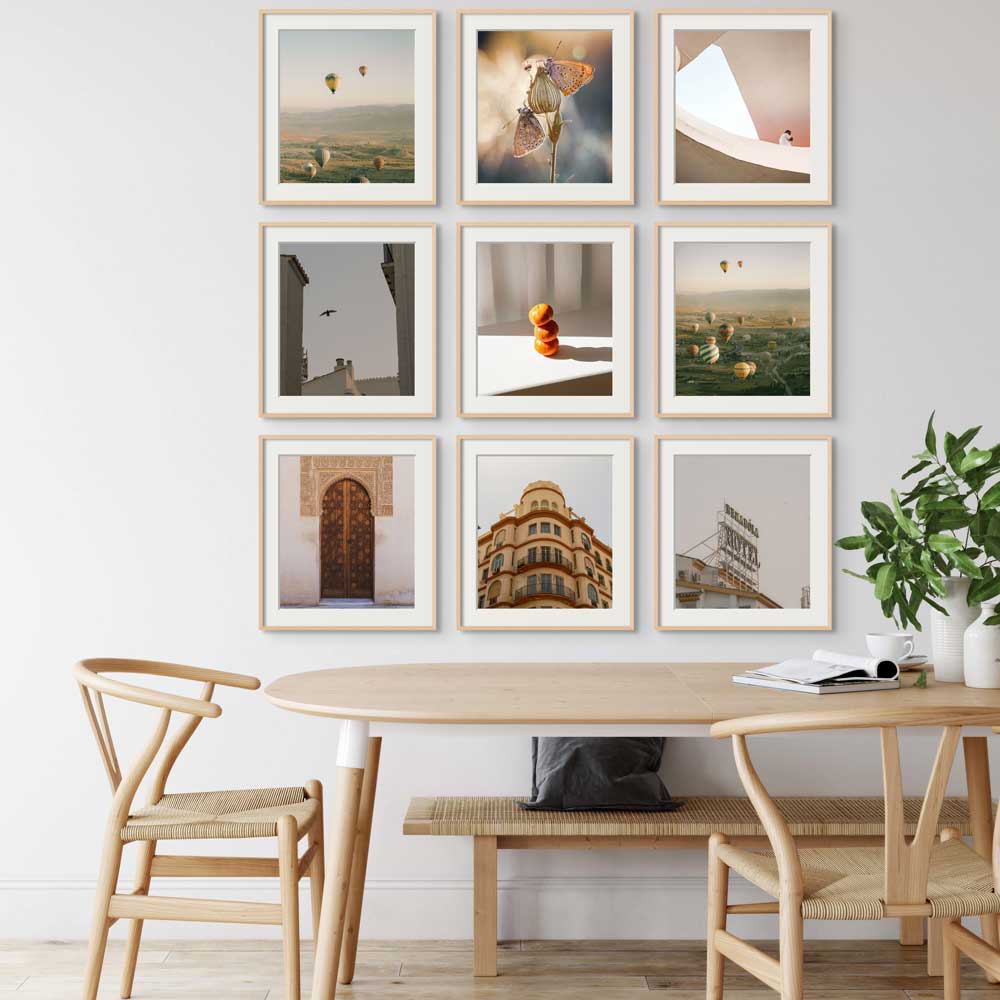
- A classic grid of smaller pieces (we recommend at least nine)
- An eclectic set with internal axes
- An asymmetrical set
Room Mockups let you showcase your art by bringing it to life in different spaces.
How to save a Room Mockup of your art in place
In just a few minutes, you have created a real-life-looking digital Room Mockup of your art in place! Make sure to click on “Save new design” (three-dotted button on the top right) to use the same room, layout, and customizations in the future. Next time you want to work with this space, you can access it from the “My Designs” section, where you’ll find all the Room Mockups you’ve created and saved. Then you can replace the artwork and make minor tweaks to get a brand-new mockup with the characteristics you like.
A great way to showcase your portfolio is to share different pieces in the same room. To achieve this, create a mockup you love and save it. Go to “My Designs” and, once you find it, click on the button with the three little dots on the right side of the mockup title. From here, select “Duplicate”: you’ve now created a copy of your original mockup. Open this copy, click on the artwork, and select “Replace artworks” to change the piece while retaining all the settings and customization options you’d created, including frame, lighting, and position of the art. Save it (don’t forget to rename it) and repeat with as many pieces as you’d like.
Room Mockup videos make you (and collectors) feel like you’re walking through the room towards the art, with the camera moving exactly as you would. Art is “Aspens on an Alberta lake” by Ephemerie.
Take it further: turn your Room Mockup into a video
Once you’ve built and refined your Room Mockups, there’s a way to take them even further: Room Mockup Videos. With one click, ArtPlacer turns your Room Mockup into a 5-second video where the camera moves slowly towards the artwork, as if someone is walking through the room and approaching the piece. The motion is subtle and intentional, giving your work a moment of quiet, focused attention. The video closes by centering the art, so your work always has the spotlight.
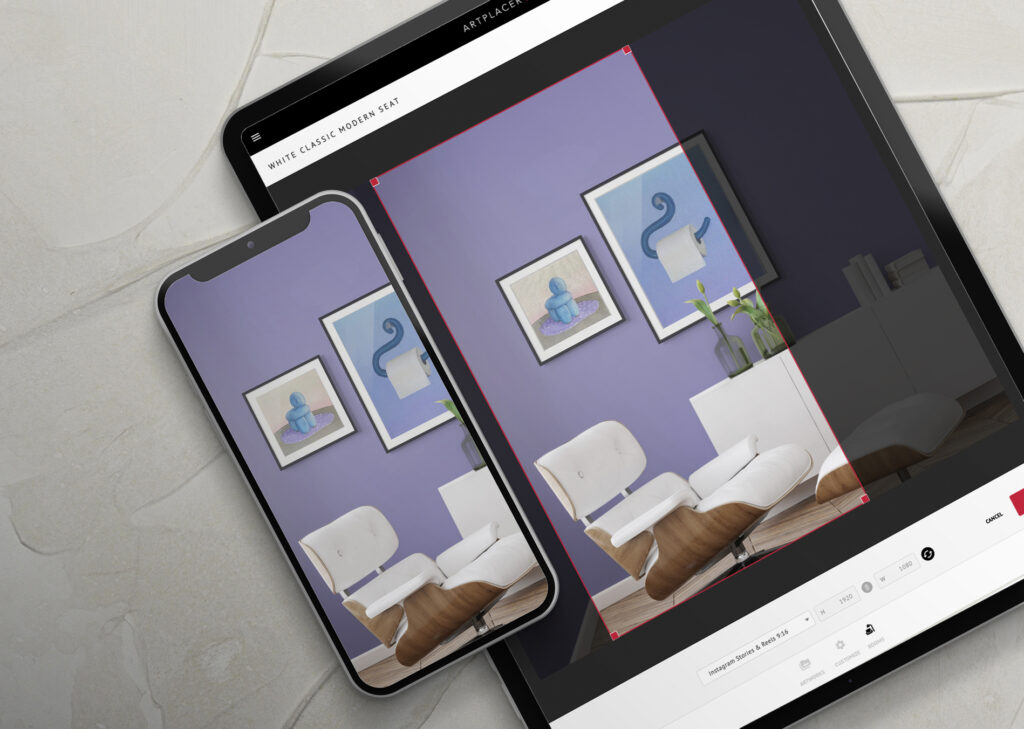
Every Room Mockup in ArtPlacer’s library can be turned into a video. Once your Room Mockup is ready, use the Crop tool to match social media video formats (9:16 for Instagram Reels, for example), then click Export → Generate Video. In a couple of minutes, your video will download and be ready to post.
Video content is consistently prioritized by social media algorithms over static posts. Turning your Room Mockups into short, scroll-stopping videos means your art reaches more people, and you don’t need to use any extra tools or learn editing software. The whole process lives inside ArtPlacer, from creating the Mockup to downloading the video.
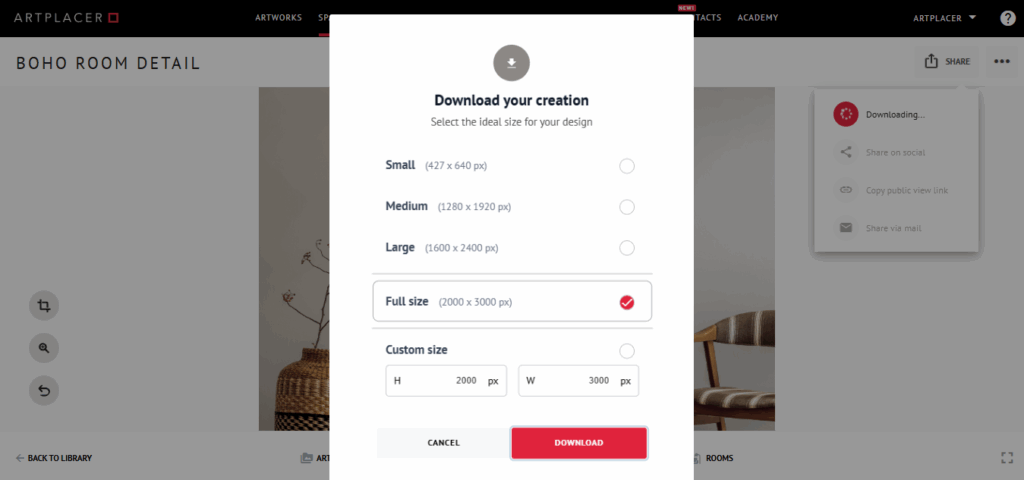
Download your creation in the size that works best for your purposes.
Share your Room Mockup creations everywhere
With your final setup ready, it’s time to share the display you’ve created.
Your Room Mockup Videos download automatically once they’re done generating. Just select them in your Downloads folder in your phone, computer, or tablet, and upload on socials to create scroll-stopping content.
For Room Mockup images, click “Export” on the top right of the screen. From here, you can download it or go straight to social media. For socials, choose the channel of your preference and publish a full-size, high-quality, scroll-stopping image in seconds. Your creativity has no end, just like the options to share your creation with the world.
If you decide to download it, Room Mockups offers several image quality options to choose from: you can go for small, medium, or large, get the full-size version, or customize the dimensions according to where you want to publish it.
If you’ve created several Room Mockups you want to download, you can do it with just a few clicks from the “My Designs” section. Hover over the mockup of your choice: a white circle outline appears on the top right corner. Click on it to select it. Repeat this with all the saved mockups you want and then open the “Quick Actions” dropdown on the top bar. Click “Download” to get a zip file with all your images, ready to use.
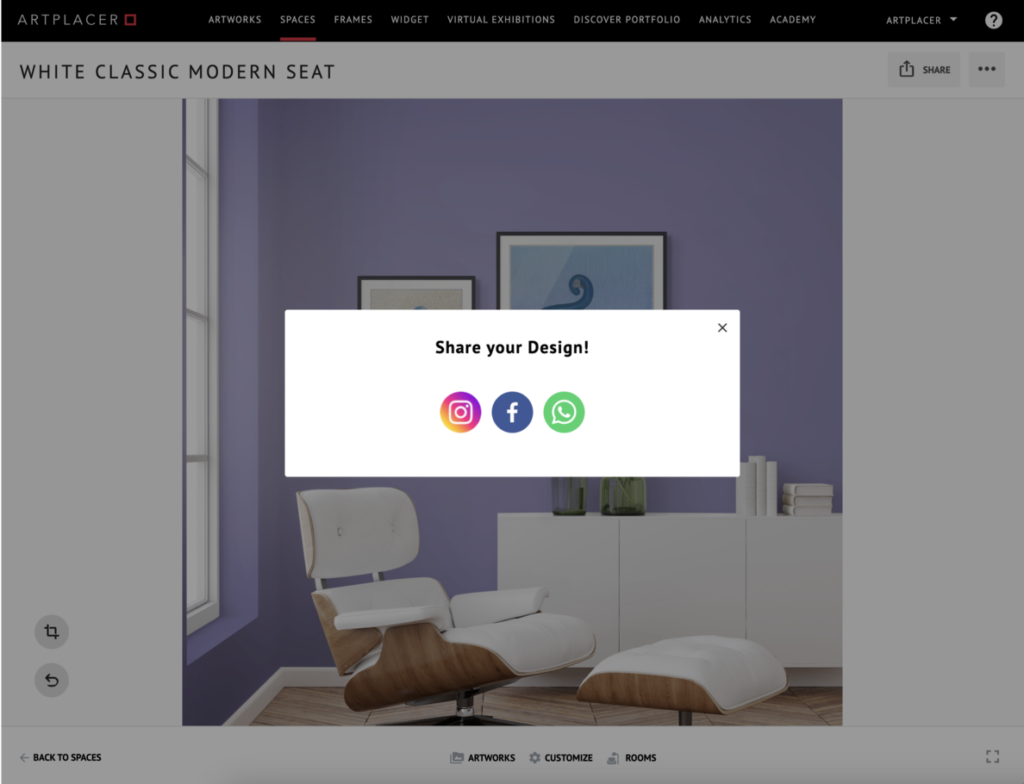
Share your design straight to social media with a single click.
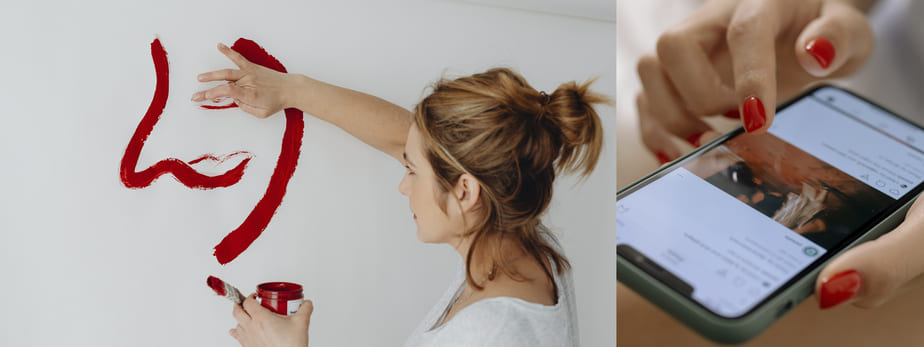
We know a picture is worth a thousand words, but when it comes to creating a successful social media artist profile, you have to think of each post as an opportunity to share your particular vision with the world. You already took care of the visual aspects by creating a mockup of your art in place. Now, share it with the right caption, and let people know what happens during your creative process.
Use this fill-in template to create a social media post caption that will engage your followers:
Here’s a view of (artwork’s name), my latest piece on (subject or theme), created with (medium). This is my vision of the space where it should be hung. What do you think about it?
You can also get help from AI tools: use these prompts to generate an attention-grabbing caption.
Use the following hashtags to complete the post:
#art_we_inspire #artlovers #artofvisuals #inspiration #artplacer #artplacerapp #collectart #artcollector #artlovers #visualart #artgallery #artcollection
Make sure to use the hashtag #artplacer and to tag @artplacer.app on your creations to get featured on our Instagram.
Now that you have all the insider tips, you’re ready to create attention-grabbing Room Mockups of your artwork in different spaces!
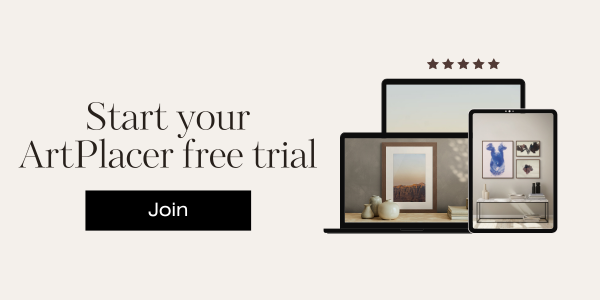
Get the Art Marketing tools you need today. Log in to your ArtPlacer account or start yourfree trial today.