Artist
How to take professional photographs of your artwork in 5 simple steps
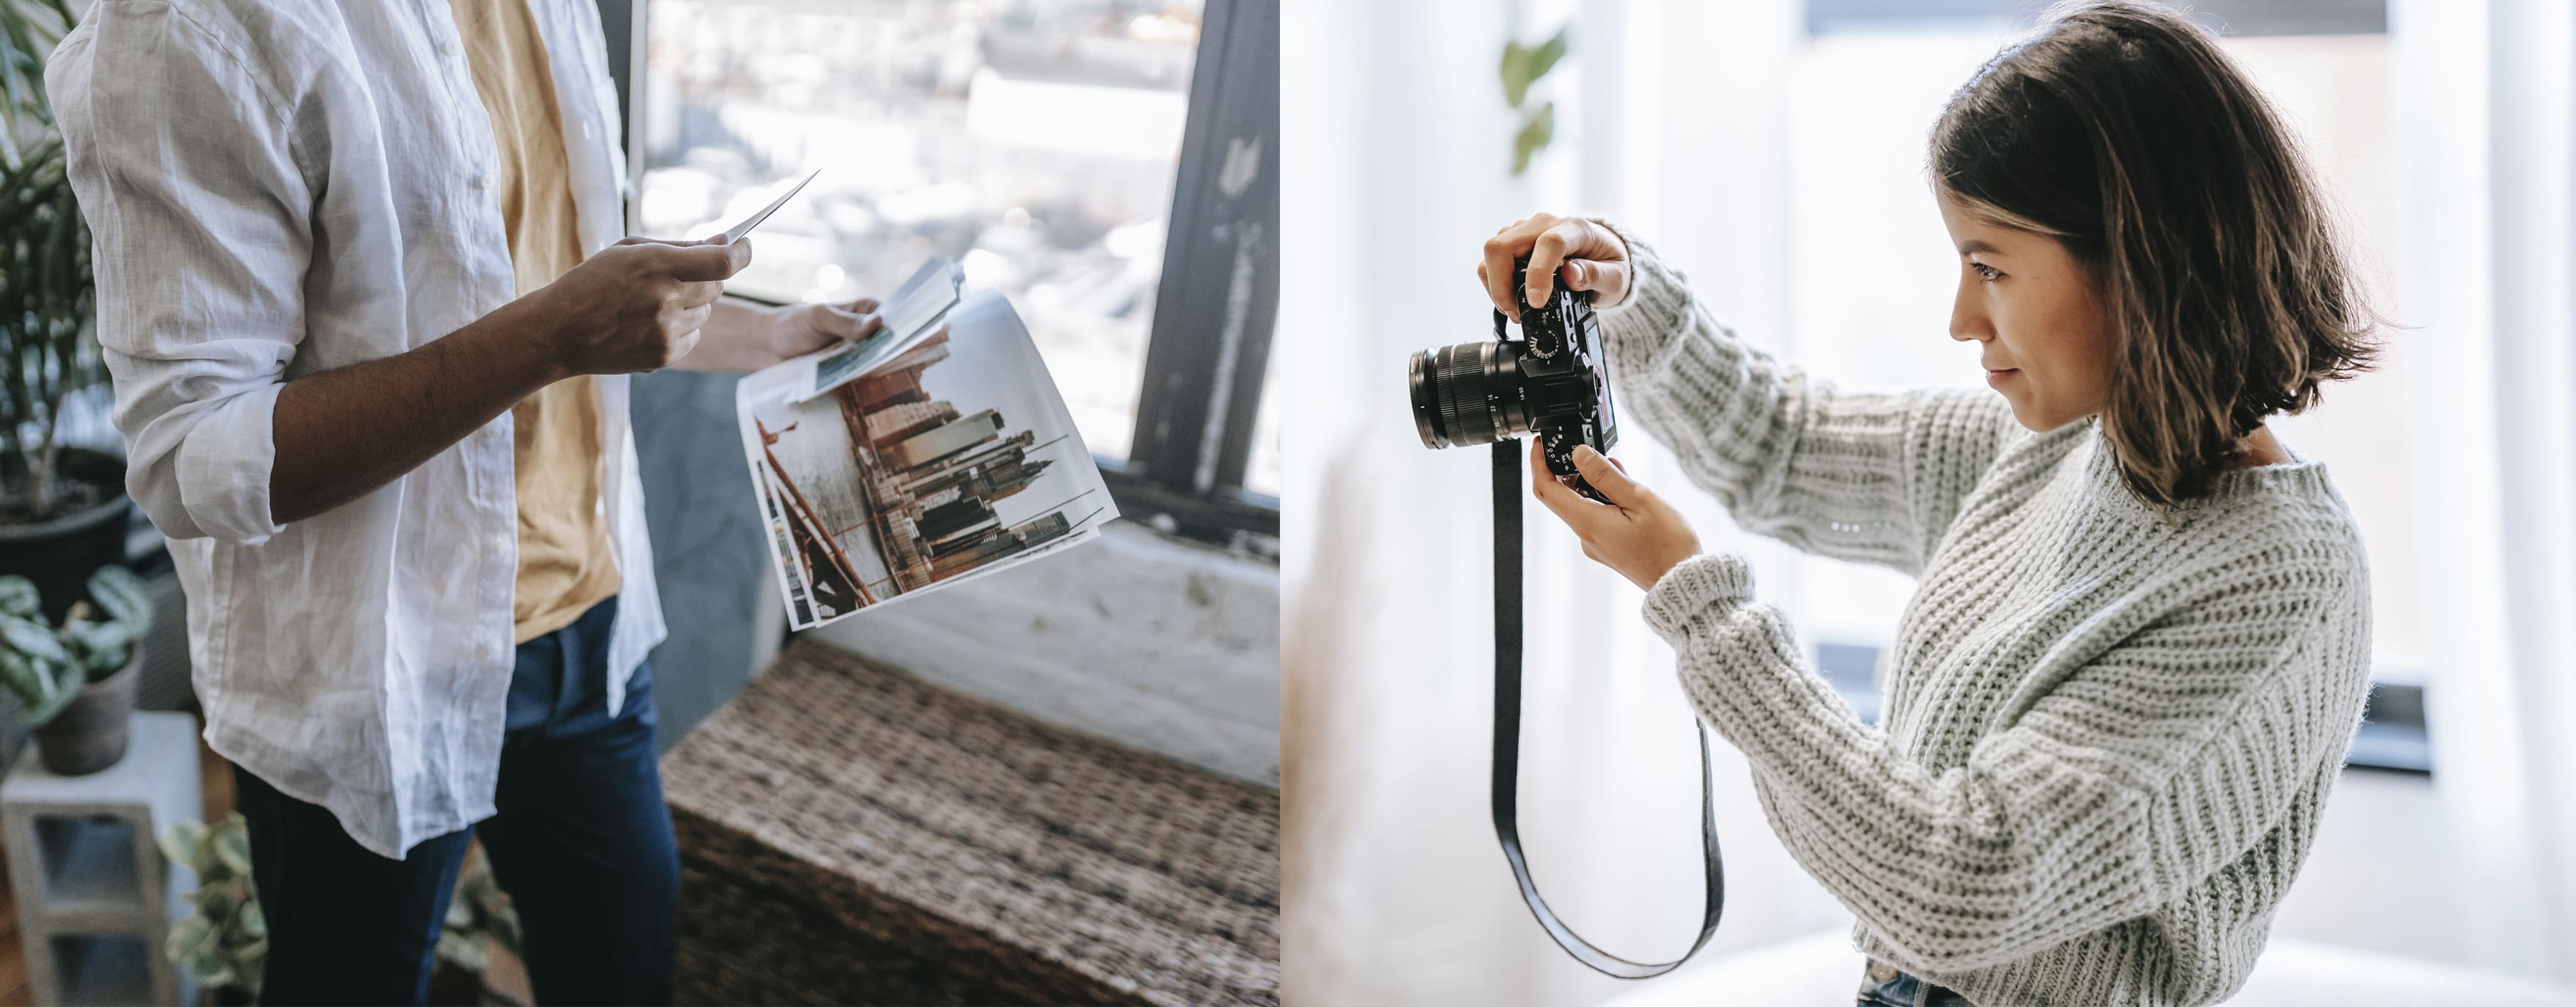
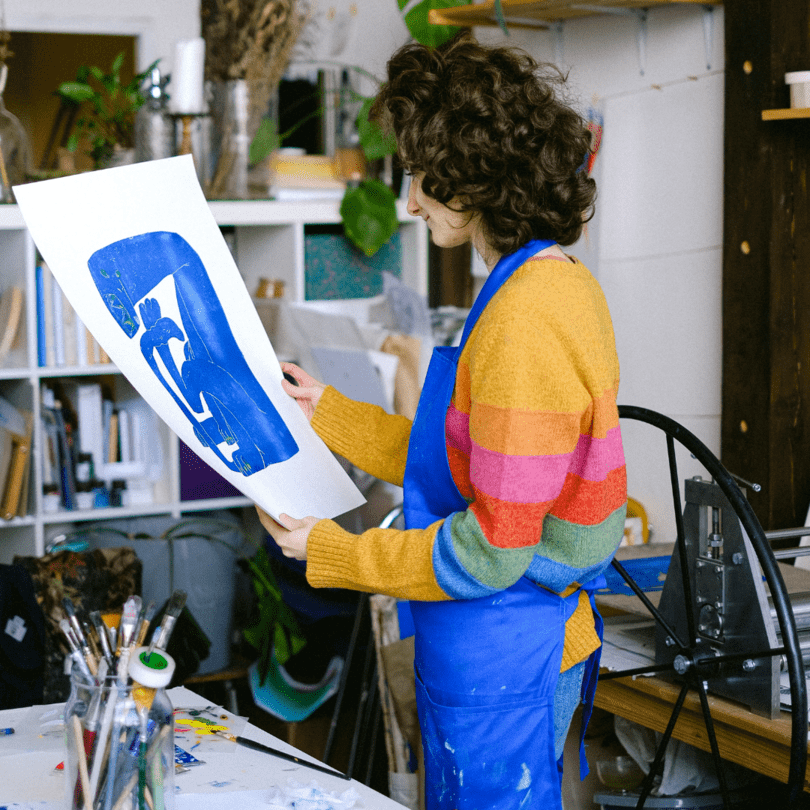
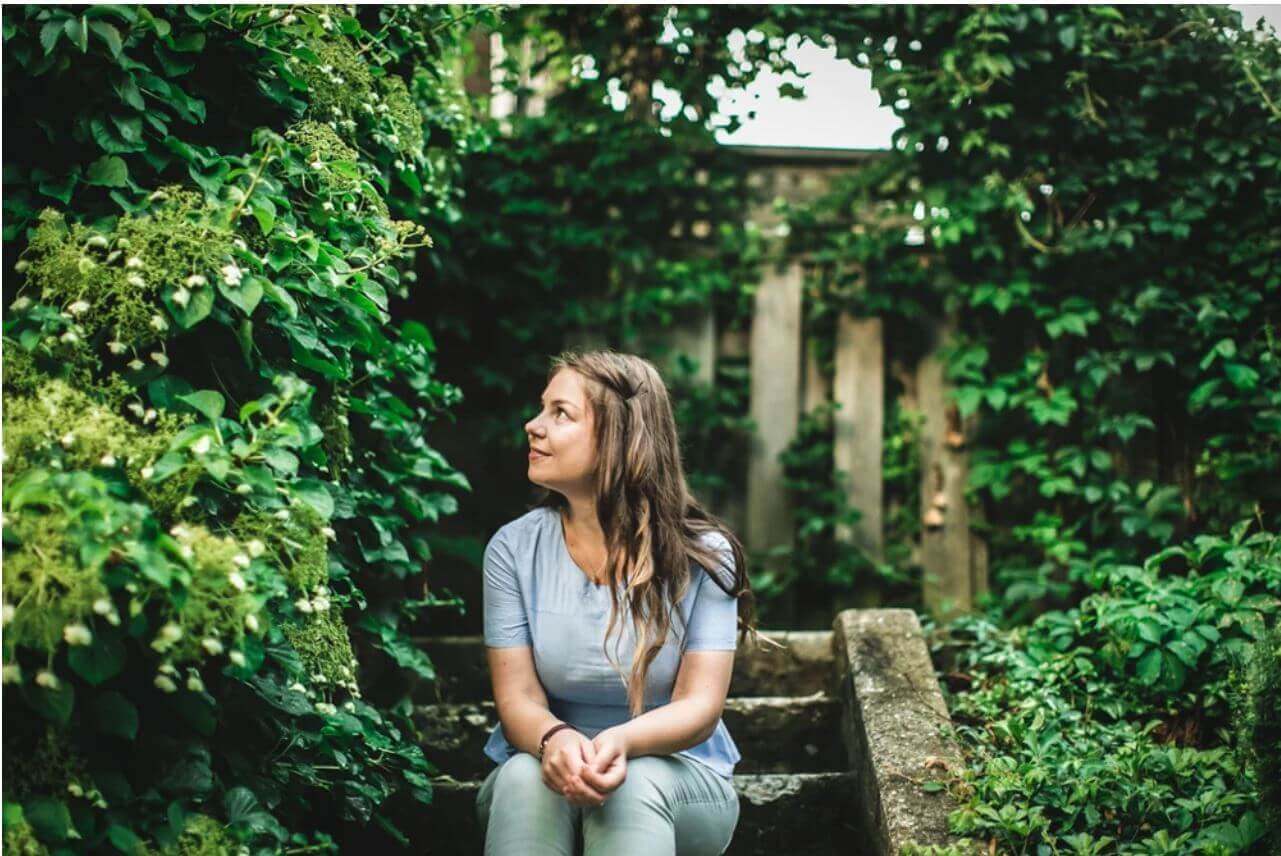
Oh, that fantastic accomplishment feeling. You just finished your latest art piece, and now you want to share it with the world. In this hybrid life, it is now essential to take a photograph of your artwork to upload to your professional website, portfolio, and social media channels for promotion, creating art prints, and even for submissions to grants and residencies.
Don’t switch the fear of the blank canvas for fear of not knowing how to take a good photograph of your art pieces. Achieving professional-looking photographs of your body of work shouldn’t be a daunting task. Today, an artist wears many hats; one can be being their own photographer, who takes pictures to promote and sell their art. Follow these steps to make taking photographs of your artwork a final step of your creative process.
Yes! Having a good camera to take pictures of your art is good, but even your trustworthy smartphone can do the work if you know how.
Contents
What do you need to photograph an artwork?
The artist’s tool kit keeps evolving as the digital art world evolves too. Here you have a list of essential supplies you will need to take photographs of your art and a few creative (and resource-saving) solutions in case you don’t have access to some of them:
-A camera or a smartphone.
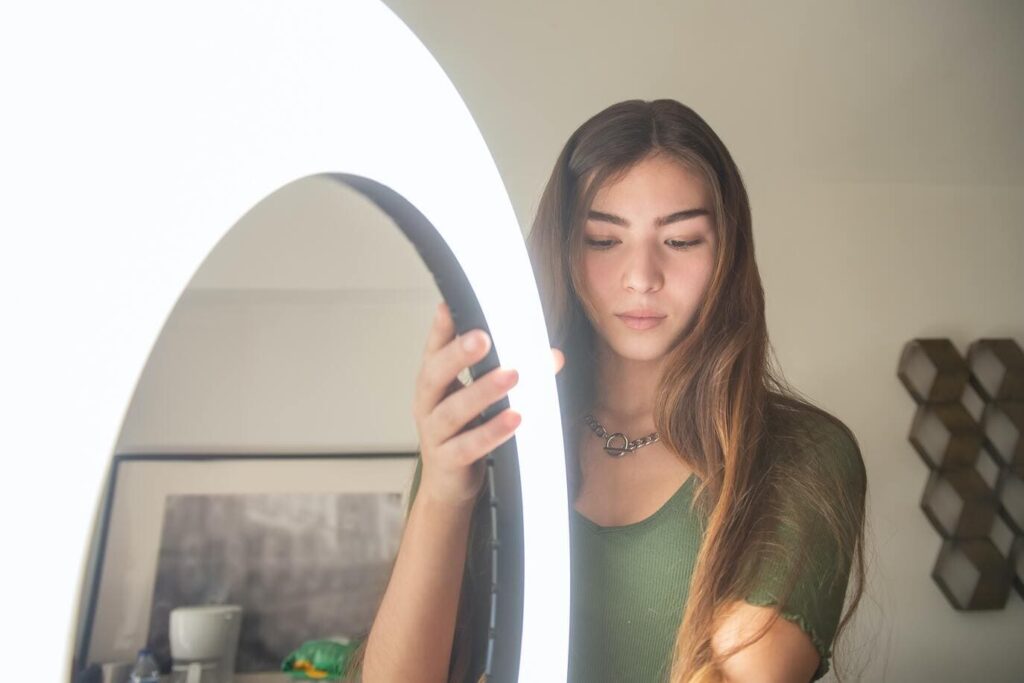
-A natural source of light like a window or a lighting set-up ranging from light bulbs, led lights, and diffusers, to a ring light o a lamp with a clamp.
-Mounting tape.
-A white wall or backdrop. An easel and white cardboard could work.
-Bubble level or level tool app on your smartphone.
-A tripod or a makeshift platform that can hold your camera or phone steady.
Before taking a picture, it is necessary to prep your artwork and remove anything that could interfere with the quality of the final image.
How to prepare artwork to photograph it
Your art might truly shine with the right frame but if you need a good photograph of it, the frame could affect the photographic result. The protective glass could create undesired glares and reflections that might distort the image and affect how its details and color are perceived, especially if you work with oil paints or your technique has a glossy finish.
If possible take your paintings out of the frame. If it has a mat remove it too, in order to prevent the material from casting a shadow on the original work. Now is the time to put your art piece in position for its photo shoot.
Hang your art (use masking tape or putty) on a wall or a flat surface. If you don’t have a wall with a plain background you could use a backdrop, mount a white piece of cardboard to place the painting on, or even an easel to create a surface for it.
Remember, to avoid distorting your artwork and its proportions, this one should be placed at the same angle as your camera. Your art piece should be centered and in parallel with the camera, to make sure it’s positioned right use a bubble level or a level app when prepping it up for the shooting.
A backdrop is essential in product (or art) photography but you can create your own or use a plain colored wall.
Create a background to photograph an art piece
To take a great picture of your art you need a flat surface in a plain color, this can be achieved with a backdrop or even by picking one of your house’s walls. If none of these options is available, get creative: a white cardboard or fabric might do the trick, and you could even reach out for your trustworthy easel (just check your angles before shooting).
The background should be plain and clutter-free in order not to alter the color balance of the piece or create noise around it. This will also make editing and cropping easy for you once you have taken the pictures.
If you want to capture your art in all of its glory, you need to be smart with lighting in order to preserve its original colors and value.
How to properly light an artwork to photograph it
As an artist, your eye has been trained to capture the 7 elements of art on the canvas, but translating that work into photography might be tricky. The wrong lighting might mess up the colors, blur or erase details like a brush stroke, create shadows or undesired glares and affect the overall balance of the piece. The end result might be a picture of a distorted artwork that is far from the original one.
Setting up your lighting for artwork photography is not a challenging task, it is all a matter of knowing how. Follow these guidelines to create an appropriate lighting setup (no matter the tools) for taking photos of your art:
-Indirect lighting: take advantage of natural light sources and the room’s roof’s main lighting source.
-Light bulbs and light rings should be placed at a 45°angle from your art piece to avoid hard lighting or casting a shadow.
-Position is everything: having a light source too close to the art piece might create undesired bright spots or glares.
-The idea is to bathe your art piece with even soft sources of light: to achieve this use a diffuser or bouncer. If you don’t have this tool, don’t worry: placing a piece of white fabric over light sources can help.
When photographing art pieces, most common mistakes and undesired results can be avoided by having set up your camera correctly for the task.
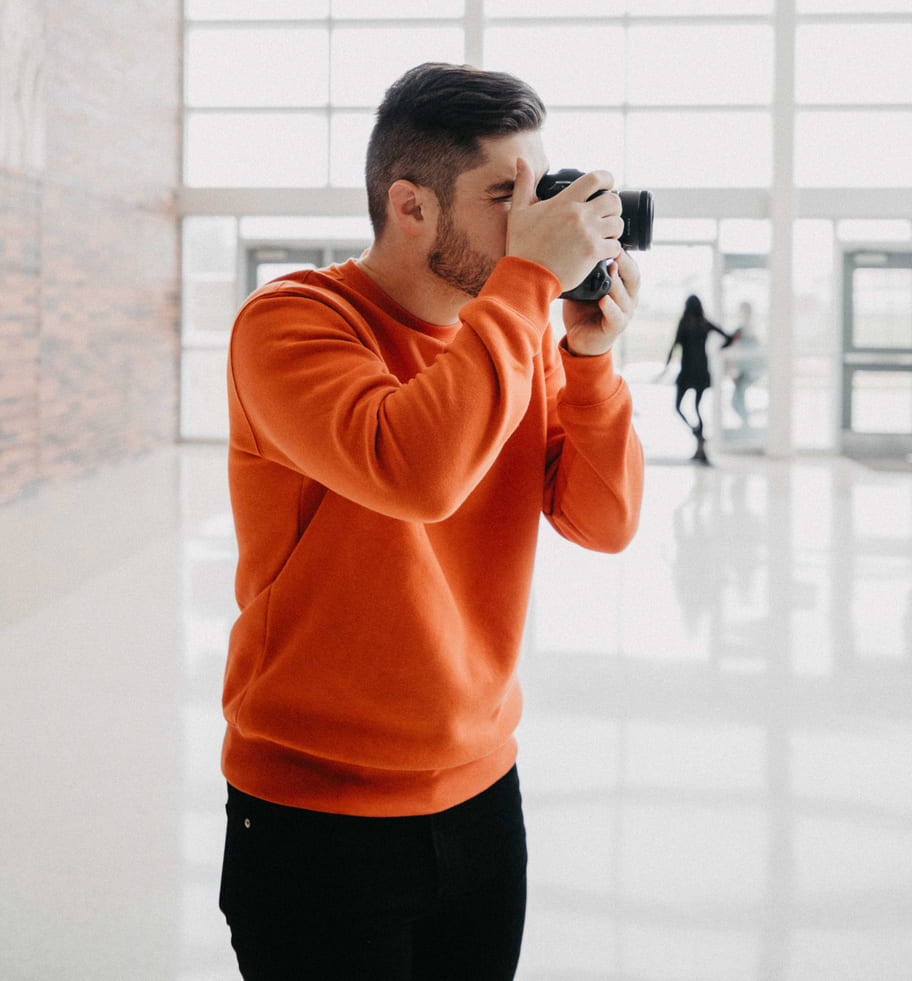
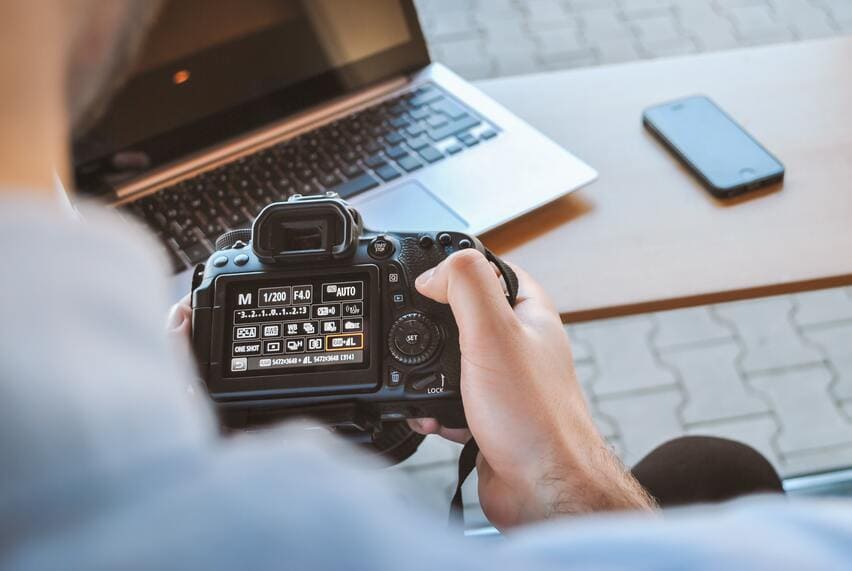
Setting up your camera (phone) to photograph an artwork
Make the tools work for you and work with what you have. Your medium is now the camera you have at hand, and no matter if it’s professional equipment or your smartphone’s camera, you can tweak its basic settings to achieve a good quality picture of your art.
Even if you are not familiar with the most technical part of photography, you can follow this list of steps to set up your camera for taking pictures of artworks:
-First: turn off the camera’s flash.
-ISO setting: in case you don’t know, ISO refers to the sensitivity that the traditional film or digital sensor has to light. Set up your digital camera or smartphone ISO option to 100.
-Adjust aperture: in photography, this refers to how much the shutter will open when taking a picture and how it determines its brightness. A higher aperture number will help you achieve a sharper and more focused image: choose a setting ranging from F/8 to F/16.
-White balance: use the preset mode when working indoors, choose your camera’s cloudy mode or studio options.
-Check your angles: if you are using a smartphone you can activate the camera’s grid option to avoid perspective distortion.
-Avoid ending up with shaky photos by setting a 3 to 5 seconds timer before the camera shoots.
-Focus: most digital cameras and smartphones have an auto-focus mode. Activate it and make the best out of this feature.
-Shutter speed: this refers to the amount of time the camera’s shutter is open letting light enter and is measured in fractions of a second. Set it up close to 1/125th.
With the right setup, taking photographs of your artwork can be a simple and creative process.
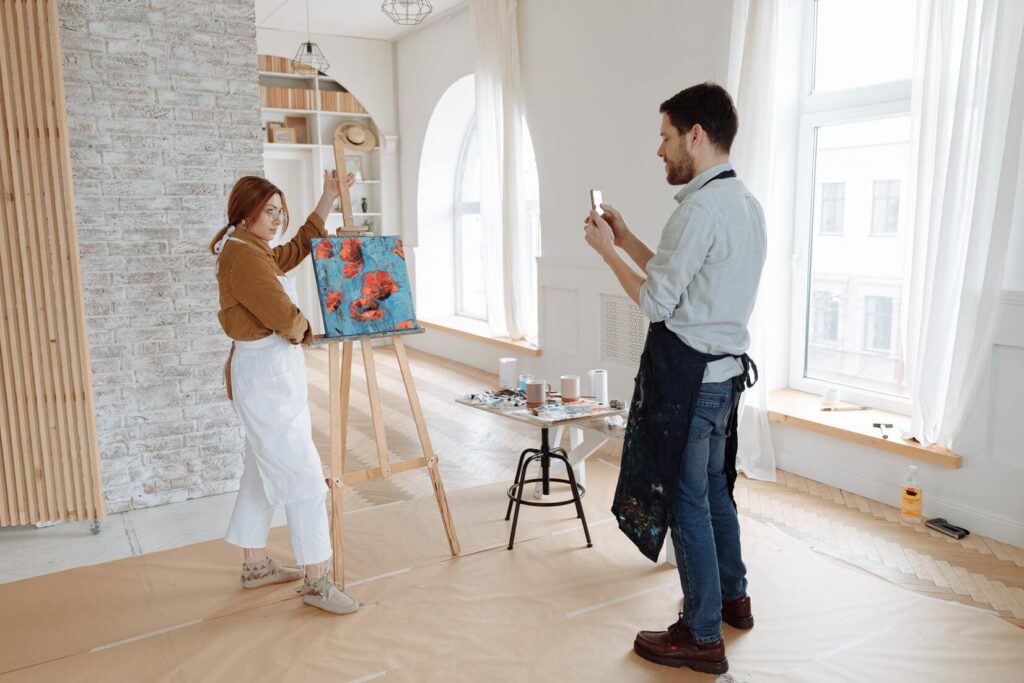
How to photograph an artwork
This is where the fun begins. If you have prepared your art piece, created a nice background, set up your lighting, and tweaked your camera’s setting, you are now ready to photograph your artwork.
Now you just have to push the button and snap a picture. But before you go into action take this into consideration:
-Always position the camera parallel to the art piece.
-Use a tripod for your smartphone or camera to eliminate possible vibration and blurry pictures.
-Check for both light glares and shadows before shooting.
-Make sure the artwork is centered and in focus.
-Position the camera correctly: your artwork should fill most of the space but take into account that you will need some blank space around it for future photo editing.
-Are you working with a portrait or a landscape piece? Make sure to rotate the camera to make it fit.
Your artwork photographs are at the center stage of your digital marketing strategy: from room mockups of your art in place to social media content.
What to do with your artwork photographs: from portfolio to promotion
There are many reasons why an artist might need to come up with good-quality photos of their work. Maybe you are diving into the art print world, you are updating your portfolio, or making a submission for an exhibition, grant, or art fair. But good quality pictures of your art are also essential for selling and promoting your work, it’s one of the pillars of your art marketing content strategy.
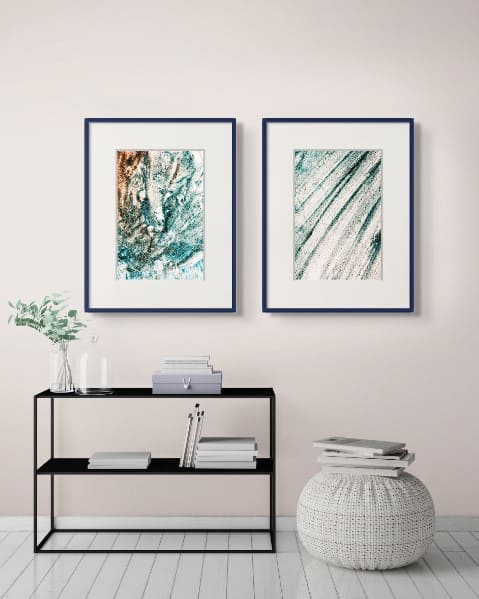
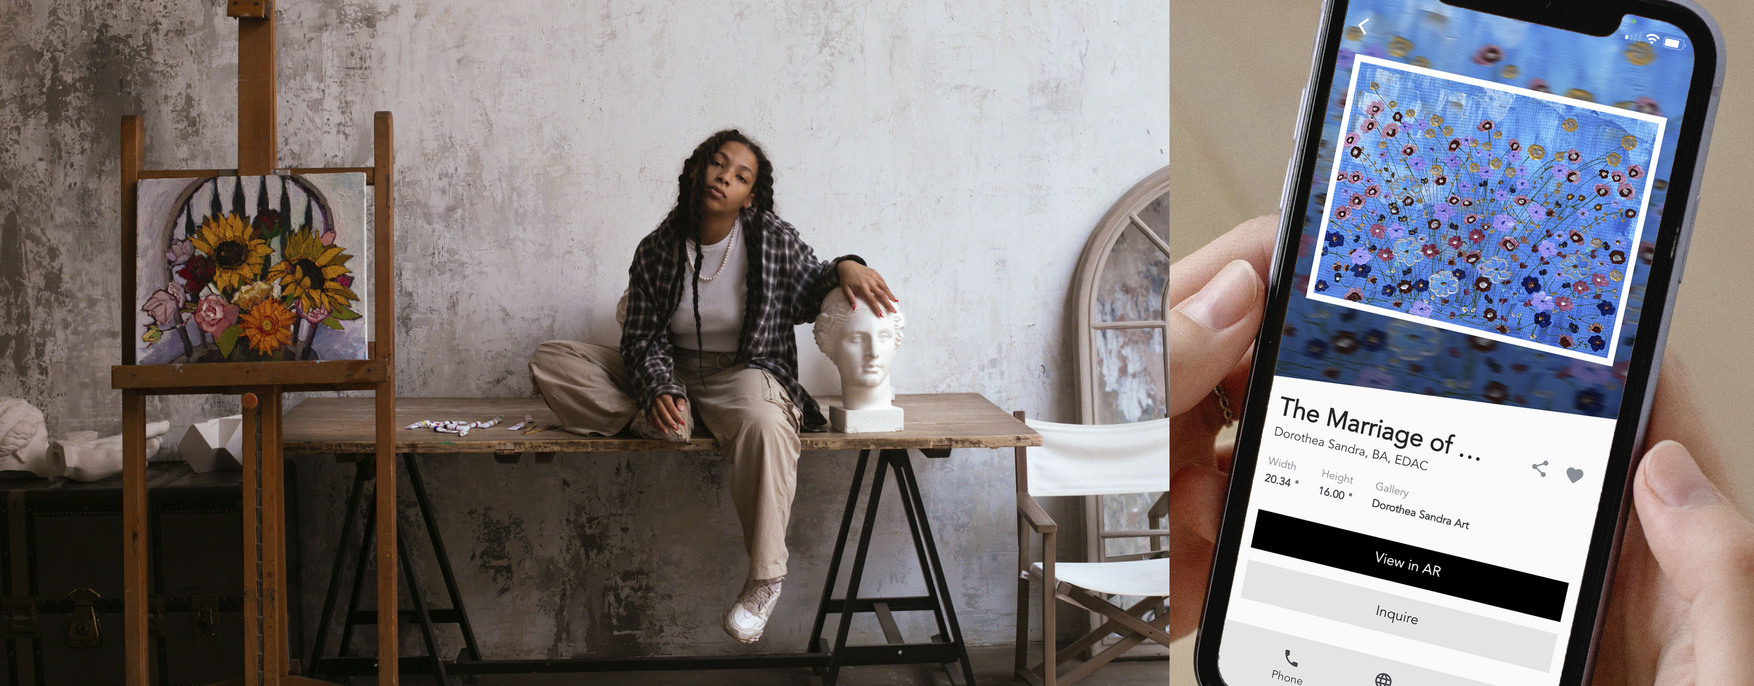
Your professional website and social media channels are now your presentation card. And besides the traditional good-quality photo of your artwork, you can enrich your visitors and followers’ experience by creating digital room mock-ups of your art in place. Once you have photographed your artwork, this is a task that will only take a couple of minutes with ArtPlacer’s Room Mockups.
Upload your art piece on the ArtPlacer dashboard. Pick one of the available room mockups (available in a myriad of styles and settings), and “drag and drop” your piece into it. Choose or design a frame that enhances your artwork, and tweak the brightness, shadow, and contrast option to maintain the quality of the image you captured with your camera and achieve real-life-looking results, ready to share.
Do you want to raise the bet? With high-quality pictures of your artworks, you have everything you need to create a 3D Virtual Gallery and make an online event around your work that is accessible 24/7 to a global audience. Just pick the right venue (from an art fair booth to a museum-like space), upload and place your art pieces, pick a frame and play around with the layout. You have all curatorial freedom in this art show: customize the venue to your taste. Once you are ready you’ll have the option to share it by link or host it on your website.
Now grab your camera, prepare your artwork and start shooting!


This article is perfect for artists looking to promote their work online! I’m planning to take better photos for my social media and website, and the tips on framing, lighting, and camera settings are just what I needed. The idea of using room mock-ups for a more immersive experience is brilliant!
I’ve been using my phone to take photos of my art for a while now, but after reading this, I’m definitely going to adjust the settings. Thanks for the pro tips!
Fantastic article! I didn’t realize how much preparation goes into taking a good photo of art. I especially liked the tip about using natural light and diffusing it for even lighting. I’ve always struggled with harsh shadows, and this will definitely help. I appreciate the detailed breakdown.